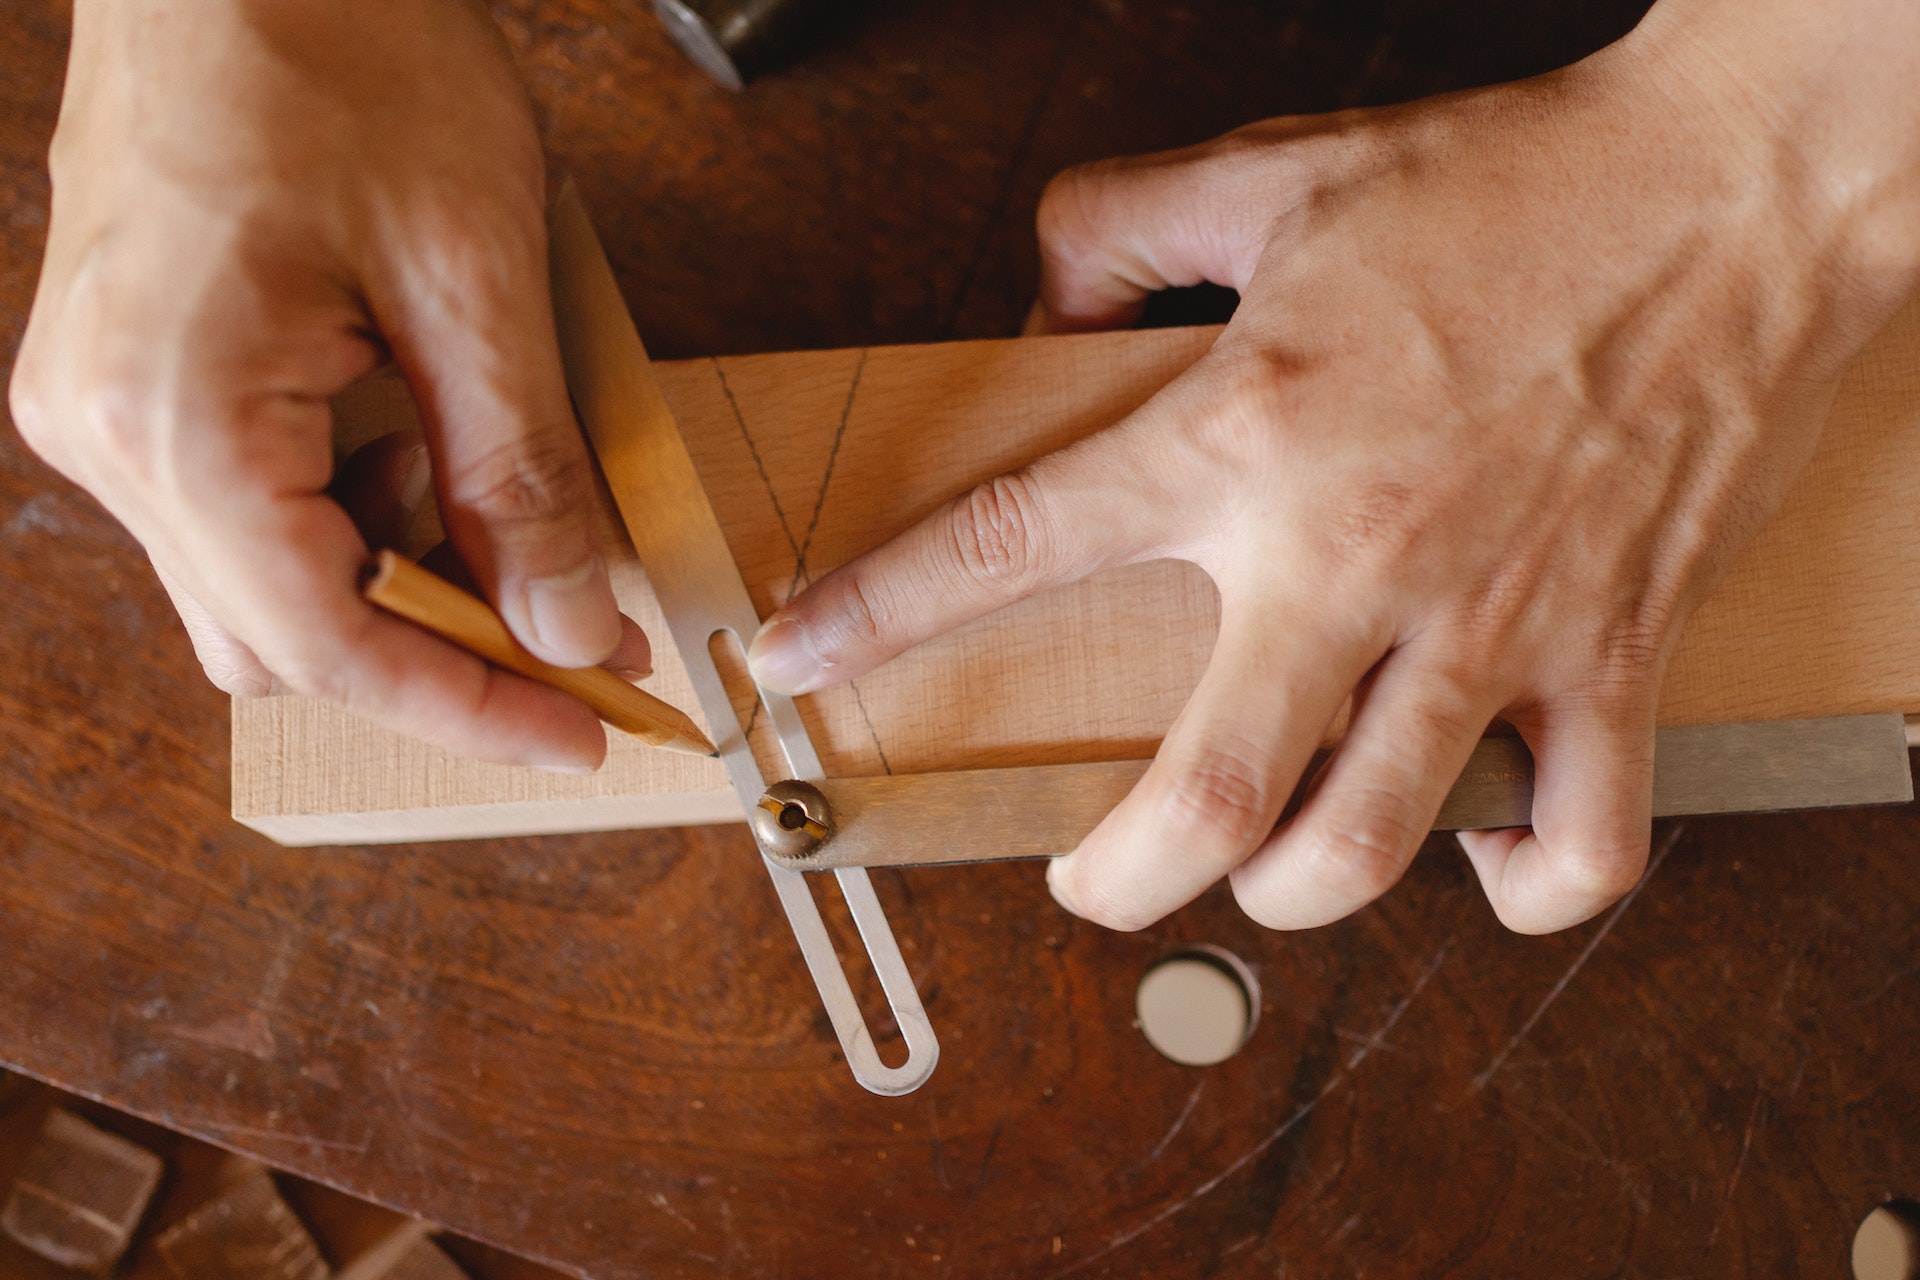
The Keyed Miter Joint

What is a Keyed Miter Joint?
The keyed miter joint. It’s not just a fancy name, it’s a fancy technique. A way to join two pieces of wood together at a perfect 45-degree angle. Think about it, a perfect 45-degree angle. That’s some precision work right there. And the key, the key is what makes this joint so strong. It’s like a secret handshake between two pieces of wood. Only those in the know understand how to make it work. But once you do, oh boy, you’ll never look back. Let me tell you, the keyed miter joint is not your average joint. You can’t just use it anywhere, it’s reserved for very specific scenarios
When to Use a Keyed Miter Joint
So when should you use a keyed miter joint? Well, it’s all about strength and durability. If the project or piece you’re working on is going to be used frequently or will be under a lot of stress, a keyed miter joint may be the way to go. It adds an extra layer of strength and stability to a joint that might not hold up otherwise. It’s like a secret weapon – only to be used when really necessary. But when it is necessary, it can make all the difference. So don’t underestimate the power of the keyed miter joint.
How to Create a Keyed Miter Joint
When it comes to creating a keyed miter joint, there are a few things you need to keep in mind. First off, you want to make sure your miter cut is as precise as possible. Any deviations can result in a weak joint, which defeats the purpose of adding a key.
Once you have your miter cut, it’s time to create the slot for your key. This is where things can get a bit tricky. You want to make sure the slot is deep enough for the key to fit snugly, but not so deep that it weakens the joint overall.
Another important aspect of creating a strong keyed miter joint is the material you use for the key itself. Generally, hardwoods are the best option. You want a material that is strong enough to withstand pressure, but also able to bend slightly to fit flush with the miter cut.
Finally, take your time when putting the joint together. Rushing can lead to mistakes and a weaker overall joint. Make sure everything is lined up properly, and use clamps if necessary to ensure a tight fit. With a little patience and attention to detail, you’ll end up with a keyed miter joint that will last for years to come.
Tips and Tricks for a Strong Keyed Miter Joint
Now that you know how to create a keyed miter joint, let’s talk about some tips and tricks to make sure it’s strong and sturdy. First off, make sure that all the joints fit snugly together before adding the keys. Any gaps or looseness will weaken the joint. It’s also important to ensure that the keys are properly sized for the joint – too small and they won’t provide enough strength, too large and they may split the wood.
Another trick is to slightly angle the keys when inserting them into the joint, as this will create more tension and make the joint even stronger. Don’t forget to use a strong adhesive when gluing the keys in place, as this will further reinforce the joint. And finally, give the joint ample time to dry before putting any weight or stress on it. Rushing the drying process may compromise the integrity of the joint.
Make Sure You Take Your Time With This Woodworking Joint
Remember, a keyed miter joint can be a beautiful and strong addition to any woodworking project, but it requires proper technique and attention to detail to ensure its success. Take your time, follow these tips, and you’ll be on your way to creating high-quality, durable joints.
Rushing through it will most likely result in a sloppy and weak connection. Additionally, it’s important to have the right tools for the job. A good saw and sharp chisels are essential, as well as a sturdy workbench to keep everything stable while you work.
When cutting your key, be sure to make it slightly wider than the slot to ensure a snug fit. And lastly, don’t be afraid to test out different woods to find the perfect match for your project. With a little bit of practice and some attention to detail, you’ll have a beautiful and durable joint in no time.