The Pocket Hole Joint
Welcome, friends, to the world of the pocket hole joint! This humble yet ingenious technique has revolutionized woodworking as we know it. No more endless measuring and marking, no more complicated joinery! Just simple, efficient, and strong joints that anyone can master with the right tools and knowledge. In this post, we’ll explore everything from the basics of pocket hole joinery to the tips and tricks that will take your projects to the next level. So grab your drill, your screws, and your sense of adventure, because we’re diving headfirst into the wonderful world of pocket hole joints!
Understanding the Pocket Hole Joint
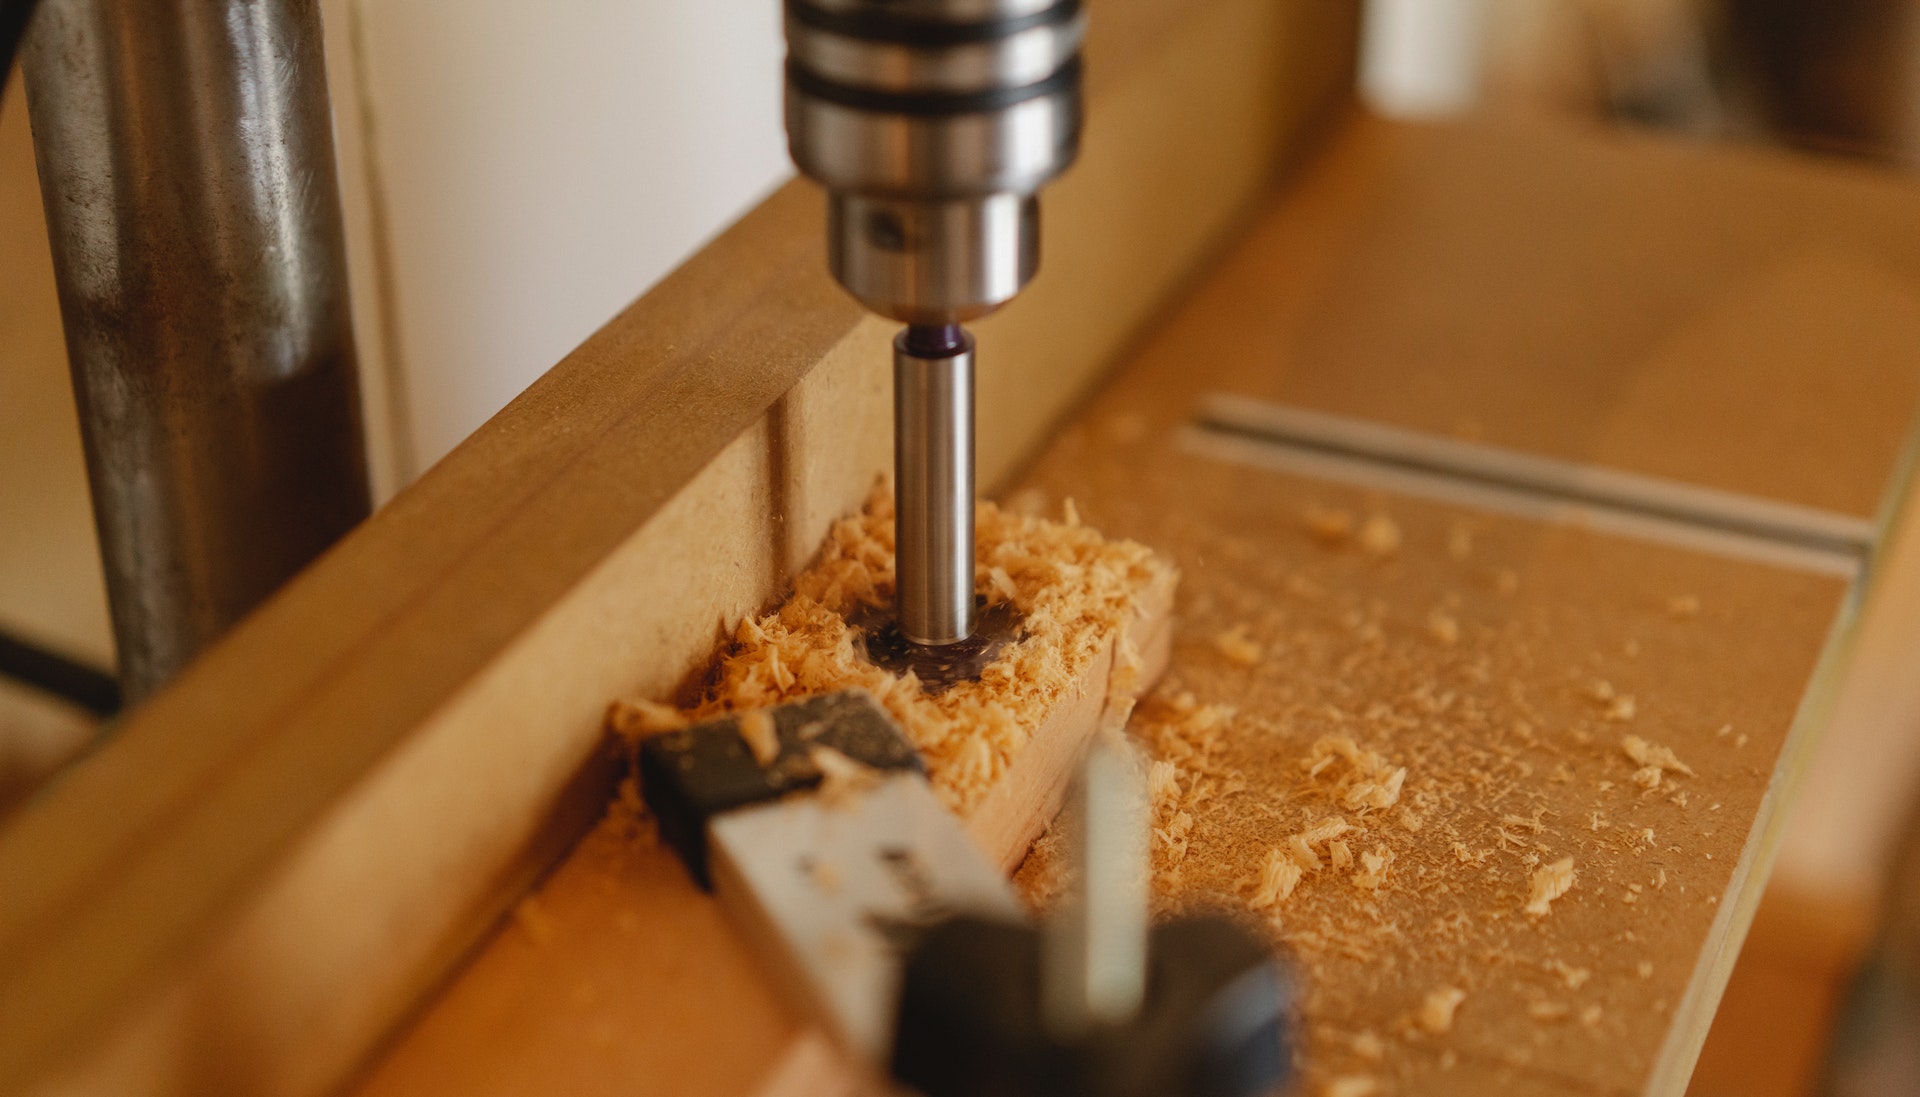
Imagine creating a joint that is both strong and versatile, customizable and efficient. That’s what the pocket hole joint is all about. This particular joint is created by drilling an angled hole through one board and then joining it to another board with a screw. The result is a secure and strong connection that is used widely in many woodworking projects.
One of the most significant things about pocket hole joinery is its simplicity. The process of making one is relatively easy, and it does not require a whole lot of prior knowledge or experience in woodworking to execute. It’s an excellent method for beginners who want to dive into the world of woodworking but aren’t quite ready to tackle more complex joinery techniques.
Another great advantage of the pocket hole joint is its versatility. This type of joinery can be used to connect two pieces of wood at various angles, from 45 degrees to 90 degrees angles. This method is perfect for creating joints that need to be detachable, and it’s a great option for those who want to add interest and customization to their woodworking projects.
Understanding the pocket hole joint is key to unlocking its many benefits. It’s simple, strong, and versatile, making it the go-to joinery technique for many woodworkers. With a little practice and experimentation, anyone can utilize this method for their DIY projects and woodworking creations.
The Benefits of the Pocket Hole Joint
The pocket hole joint is a hidden gem in the world of woodworking. Its benefits extend far beyond just joining pieces of wood together. For starters, it’s incredibly strong and can handle a lot of weight without breaking. This is thanks to the design of the pocket hole itself, as the angled hole creates a mechanical bond that holds the screw in place.
But the benefits don’t stop there. Perhaps one of the biggest advantages of the pocket hole joint is its speed and ease of use. With just a few basic tools, you can create strong, reliable joints without needing a lot of woodworking experience. This is a major selling point for both professionals and hobbyists looking to save time and effort in their projects.
Another perk of using pocket hole joints is that they’re versatile. They work well with a wide range of wood types, including hardwoods, softwoods, and man-made materials like plywood and MDF.
One thing to keep in mind, however, is that pocket hole joints may not be the best choice for every project. For example, if you’re working with particularly thin or delicate wood, the pocket hole could cause the wood to split or crack. Additionally, some woodworkers prefer the aesthetics of other joining methods, like dovetails or mortise-and-tenon joints.
Overall, though, it’s hard to deny the many benefits of the pocket hole joint. Whether you’re a seasoned woodworker or just starting out, it’s a technique that’s worth adding to your arsenal.
Tools and Materials for Making Pocket Hole Joints
When it comes to making pocket hole joints, having the right tools and materials is key. First and foremost, you’ll need a pocket hole jig. This handy tool helps you drill angled holes that are essential to making pocket hole joints. There are a variety of pocket hole jigs on the market, ranging from simple and affordable to more complex and expensive. Choose one that fits your budget and the types of projects you plan to tackle.
In addition to a pocket hole jig, you’ll need a drill with a bit that matches the size of your pocket hole screws. It’s important to choose the right size bit to ensure a tight fit between your pieces of wood. You’ll also need pocket hole screws, which are specially designed to work with the angled holes created by your pocket hole jig.
Other helpful tools for making pocket hole joints include a clamp to hold your pieces of wood in place while you drill, and a square to ensure that your holes are drilled at the correct angle. You may also find it helpful to have a carpenter’s pencil or other marking tool to make sure you’re drilling your holes in the right place.
As for materials, you’ll obviously need the pieces of wood you’re going to join together. Choose high-quality lumber that’s free of knots and other imperfections. You’ll also need wood glue to help strengthen the joint and ensure it lasts for years to come.
Lastly, don’t forget about safety gear. When drilling, it’s always a good idea to wear eye protection and hearing protection. And if you’re using any power tools, make sure you’re familiar with their operation and safety guidelines. With the right tools and materials, you’ll be well on your way to making strong and reliable pocket hole joints.
Tips and Tricks for Perfecting Pocket Hole Joints
Welcome to the final section of our guide to the incredible Pocket Hole Joint! In this section, we’ll be sharing some tips and tricks to help you perfect your pocket hole joints and take your woodworking game to an entirely new level! From using clamps for precision to choosing the right screw length and angle, we’ve got you covered! Plus, we’ll also be sharing our secrets for proper sanding and finishing techniques, as well as inspiring ideas for using pocket hole joints in different projects. Let’s dive in!
Using Clamps for Precision
When it comes to making pocket hole joints, one of the most important elements for achieving precision is the use of clamps. You need to ensure that your pieces are held securely in place before drilling the pocket holes, or else they might shift and cause mistakes. The clamps will also hold the pieces together during assembly, again preventing any misalignment.
But not just any clamp will do. You need to use the right clamps for the job. You may need a variety of clamps depending on the size and shape of the pieces you are working on. Here are a few types of clamps you might consider using:
- Face Clamps – These clamps have a base plate and a movable jaw that slides up and down a threaded rod. You tighten the clamp by turning the handle, which applies pressure to the workpiece.
- Bar Clamps – These are long, straight clamps that are useful when working with longer pieces of wood. They have a bar that slides in and out of the clamp head, allowing you to adjust the length.
- Corner Clamps – As their name suggests, these clamps are designed for holding pieces together at a right angle. They have a fixed jaw and an adjustable jaw that can be set at various angles.
In addition to using the right clamps, you also need to use them in the right places. Be sure to clamp your workpiece to a flat surface, such as a workbench or table, to keep it steady. And use enough clamps to keep your workpiece from shifting during drilling and assembly.
In short, clamps are an essential tool for achieving precision when making pocket hole joints. Don’t skimp on this step, or you may end up with uneven or sloppily assembled joints. With the right clamps and proper technique, you can create strong, attractive joints that will hold up for years to come.
Choosing the Right Screw Length and Angle
One of the key components in creating the perfect pocket hole joint is choosing the right screw length and angle. Here’s the thing: there’s no one-size-fits-all answer to this. It’s all about finding the right combination for your specific project.
First, let’s talk about screw length. If your screw is too long, it can poke out the other side of your wood and ruin the entire joint. However, if your screw is too short, it won’t hold the joint together properly. So, what’s the solution? Measure the thickness of your wood and choose a screw that’s about 1/2 inch shorter than the total thickness of your two pieces of wood combined.
Now, let’s discuss screw angle. The standard angle for a pocket hole joint is 15 degrees, but you can adjust the angle slightly depending on the thickness of your wood. Thicker wood will require a steeper angle to ensure a strong joint. But be careful, if you go too steep, your screw might poke through the other side of your wood. Play around with different angles until you find the perfect fit for your project.
Remember, practice makes perfect with pocket hole joints. Don’t be discouraged if it takes a few tries to get the right screw length and angle – it’s all part of the learning process. And once you’ve got it down, you’ll be able to create strong, seamless joints that will impress even the most critical eye.
Proper Sanding and Finishing Techniques
When it comes to making pocket hole joints, sanding and finishing are two essential steps that cannot be overlooked. Sanding your pocket hole joint will help smooth out any rough edges and create a clean, polished finish. Before you start sanding, it’s important to make sure your pocket hole joint is dry and free of any debris.
When sanding, start with a coarse-grit sandpaper and work your way up to a finer grit. This will help you achieve a smooth finish without any scratches or blemishes. Make sure to sand in the direction of the grain to avoid damaging the wood.
Once you’ve achieved your desired finish, it’s time to apply a protective coating. This can be done with a variety of finishes including oils, stains, or varnishes. A protective coating will help to preserve the wood and prevent any damage from moisture or sunlight.
When applying your finish, be sure to follow the instructions on the product carefully. Apply the finish in thin, even coats and allow each coat to dry completely before applying the next. If you’re using a spray-on finish, make sure to work outside or in a well-ventilated area to avoid inhaling any fumes.
By taking the time to sand and finish your pocket hole joint properly, you can ensure that it not only looks great but also lasts for many years to come. Don’t skimp on this important step – it’s worth the extra time and effort to achieve a quality finish.
Using Pocket Hole Joints in Different Projects
When it comes to using pocket hole joints in different projects, the possibilities are endless. These joints are versatile and can be used in furniture building, cabinetry, and even outdoor projects. One popular use is in building bookcases or shelves. Pocket hole joints provide a sturdy connection for the pieces, ensuring that your shelves won’t sag under the weight of your books or objects.
Another great use for pocket hole joints is in building tabletops. Whether you’re building a dining table or a coffee table, pocket holes can be used to securely attach the legs to the tabletop. This provides a strong connection that won’t wobble or come apart with use.
If you’re building cabinets, pocket holes can be used to attach the face frames to the cabinet box. This produces a clean, seamless appearance that will make your cabinets look professionally made. Additionally, pocket hole joinery can be used to attach drawer faces and cabinet doors.
Finally, pocket holes can be used in outdoor projects such as building a garden bench or a deck railing. These joints are designed to withstand the elements, making them a great choice for projects that will be exposed to the elements.