The Inlay Joint
As a woodworking enthusiast, there are few joints that are more fascinating and rewarding to work on than the inlay joint. With its precise and intricate detailing, an inlay joint is truly a work of art, it’s not only visually stunning but also incredibly strong and durable. Inlay joints can be used in many different types of woodworking projects, from small jewelry boxes to large pieces of furniture. It is a joint that requires patience, precision, and a steady hand, but the end result is always worth it.
So, if you’re a woodworker looking to take your skills to the next level, delving into the world of inlay joints can be a great place to start. Just be prepared to put in some extra time and effort to achieve the perfect fit and finish. Trust me, the end result will be nothing short of spectacular.
What is an Inlay Joint?
If you’ve never heard of an inlay joint, it can sound intimidating. But fear not, for I am here to demystify this woodworking technique for you. An inlay joint is simply a method of joining two pieces of wood together using a decorative, contrasting material to create a focal point. The inlay material is cut into a recess in one piece of wood, and then the other piece of wood is fitted into that recess. It’s a beautiful and elegant way to add some visual interest to your woodworking projects.
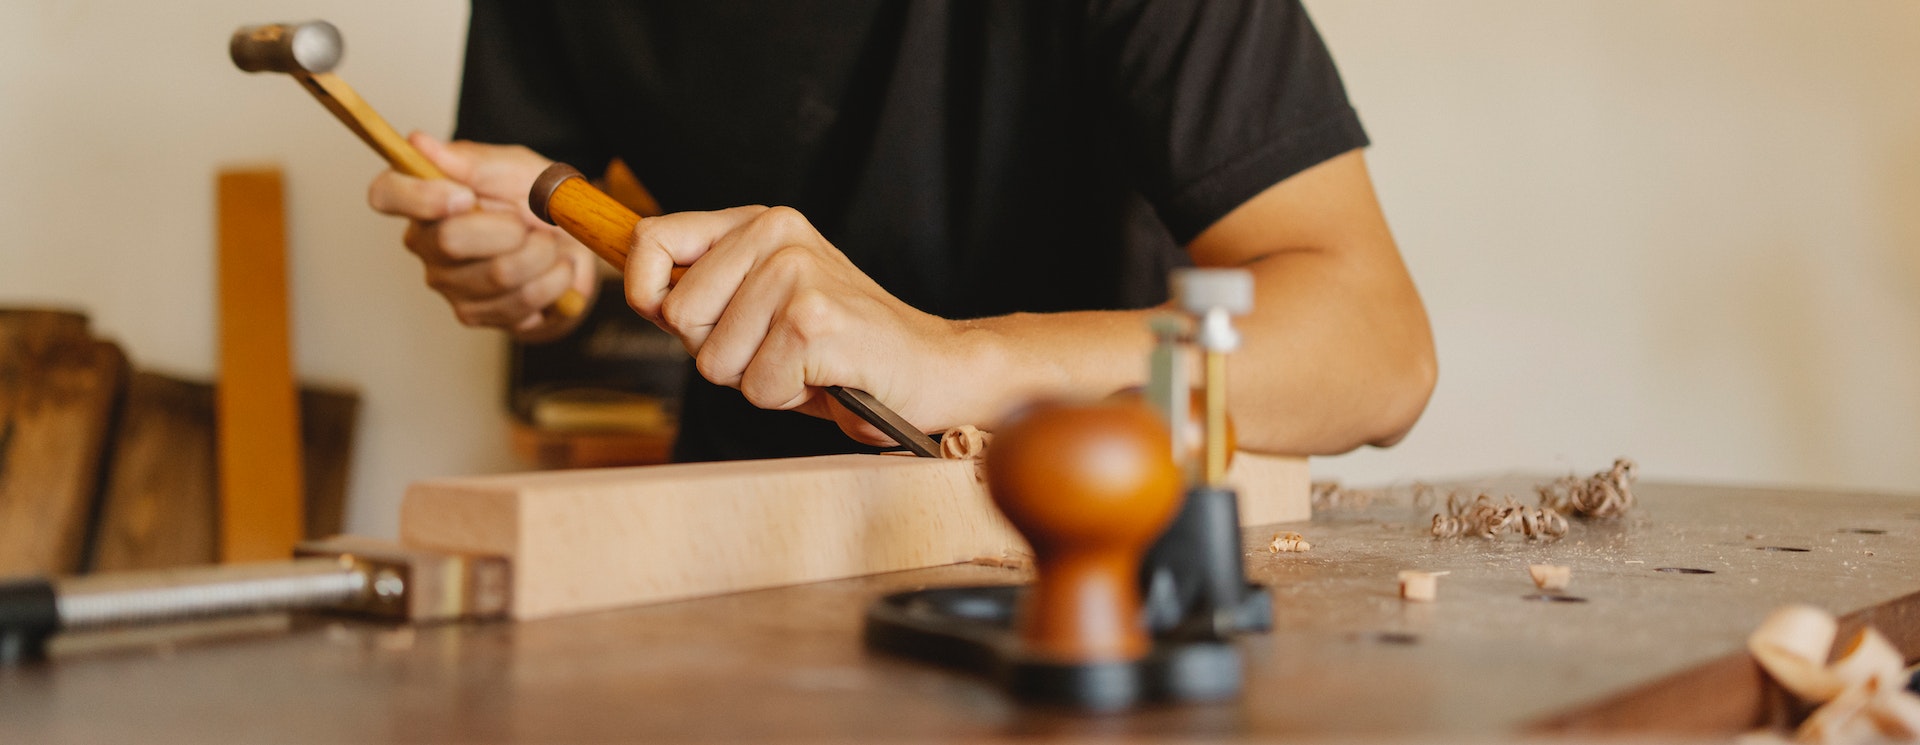
To make an inlay joint, you’ll need a few basic tools. A plunge router such as this one available from Amazon, or a router mounted in a router table is the best tool for cutting the recess for the inlay material. You’ll also need a sharp chisel or a router plane to clean up the edges of the recess, and some sandpaper to smooth everything out. The inlay material itself can be anything from wood to metal to plastic, as long as it’s thinner than the depth of the recess you’re cutting.
How to Make an Inlay Joint
The process of making an inlay joint is fairly straightforward. First, you’ll need to decide where you want the inlay material to go on the project. Once you’ve marked that spot, use your router to cut a recess in the wood. Make sure the recess is the right depth – you don’t want it to be too shallow, or the inlay material won’t stay in place, but you also don’t want it to be too deep, or the joint won’t be strong.
Once you’ve cut the recess, test-fit your inlay material. It should fit snugly, but not be too tight. If it’s too tight, you can sand the edges of the inlay to make it fit better. If it’s too loose, you may need to make a new recess that’s a little deeper.
After you’ve fitted the inlay material, glue it in place and let it dry. Once the glue is dry, use your chisel or router plane to carefully shave away any excess material around the edges of the recess. Sand everything smooth, and you’re done!
The great thing about inlay joints is that you can get really creative with them. You can use different types of inlay material to create patterns, or you can use different colors of wood to create contrast. With a little practice, you’ll be making beautiful inlay joints in no time!
Common Issues with Inlay Joints
The problem with inlay joints is that they can be finicky. Sometimes, things just don’t line up as they should. In my experience, the biggest issue is getting the inlay piece to fit snugly into the groove. It can take some fiddling, but once you get it just right, it’s like magic.
Another issue is making sure the surface is level. If it’s not, the inlay will stick out like a sore thumb. There’s nothing quite like spending hours on a project, only to realize that your inlay joint is wonky. It’ll make you want to pull your hair out, I tell you.
But fear not! There are solutions. One trick is to use a small scraper to remove any high spots in the groove before fitting the inlay. Another is to use a double-sided tape to temporarily secure the inlay before gluing it in place. This can help you get the fit just right before it’s permanent.
Inlay joints may be a challenge, but they’re worth it. The end result is stunning, and the satisfaction of knowing you’ve created something unique and beautiful is priceless. Keep at it, try different techniques, and don’t give up on achieving that perfect inlay joint. You’ll get there eventually!
Say you’ve followed all the steps to make your inlay joint and you’re feeling pretty good about it. But wait, there’s one more thing to consider. How do you get that perfect finish? You don’t want to ruin all your hard work with a messy finish. One good tip is to use sandpaper with a fine grit to smooth out the joint. You could also experiment with different finishes, like applying a coat of paint or varnish. Just be sure to let it dry completely before using or handling your newly completed piece. Another helpful trick is to use clamps to secure the joint while the glue dries. This will ensure a strong hold and prevent any movement during drying. Don’t rush this part – let it dry completely before removing the clamps. Remember, patience is key when it comes to woodworking. Follow these tips and you’ll have a beautiful inlay joint that will impress anyone who sees it.
Tips and Tricks for Perfect Inlay Joints
It’s time for the moment of truth: you’re ready to start making your very own inlay joint. Here are a few extra tips and tricks to help you get the perfect fit.
First of all, make sure your inlay pieces are cut accurately. This means using a sharp blade or an electric saw to get clean cuts. Don’t be afraid to take your time and double-check your measurements. Inlay joints require precision, so every little detail matters.
Next, consider the type of glue you’re using. This will affect the strength of the joint and also how well it fills in any gaps. A slow-drying glue like epoxy or cyanoacrylate can be a good choice, as it gives you time to adjust the fit before the glue sets. You can also mix sawdust or sanding dust into the glue to create a putty-like consistency that will fill in any small gaps.
One key trick to making a strong and tight inlay joint is to use clamps or weights to hold the pieces together while the glue dries. This will help prevent any shifting or movement that could compromise the fit. Be sure to wipe away any excess glue before it dries, too.
If you’re working with delicate materials like thin veneers or fragile inlay pieces, consider using a backing board or support to help stabilize the parts as you work. This can help prevent damage and also ensure that the joint stays true.
Finally, don’t rush the process. Take your time, check your work often, and be patient as the glue dries. It can take several hours or even overnight for the glue to fully cure, so be careful not to accidentally shift or move the pieces during that time. With practice and persistence, you’ll soon be creating flawless inlay joints like a pro.