Woodworking Tools for Cabinet Making (What You’ll Need)
Cabinet making is one of the most rewarding projects that you can take on as a woodworker, but if you’re new to the craft, then you’re going to need some tools to get started.
Here’s a list of the most important tools that you’ll need, along with the reasons why you’ll need them.
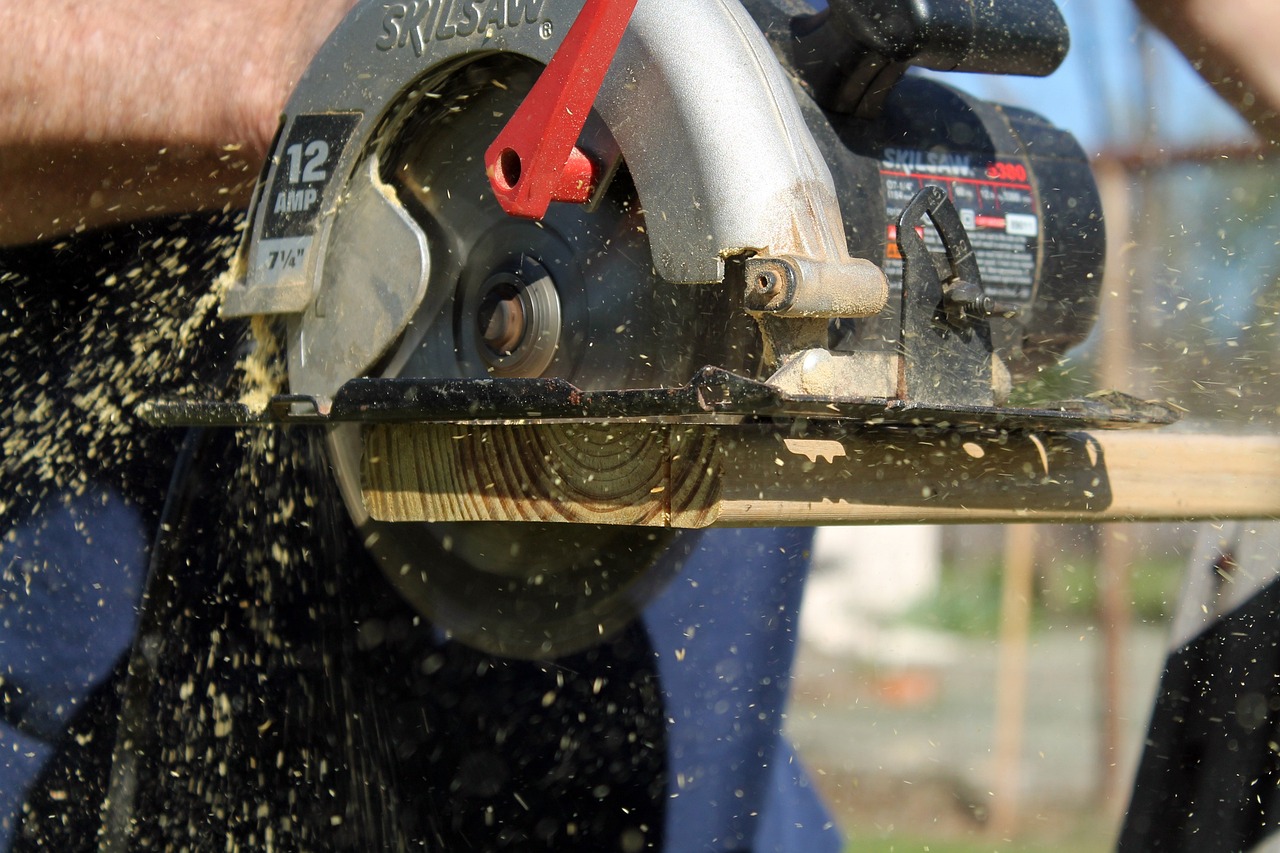
1. Circular Saw
A circular saw is the most important tool that you’ll need for cabinet making. You can use it to cut up your sheets of plywood into the pieces that you’ll need for your cabinets.
It’s generally better to cut your pieces a little bit too big, and then trim them down to the exact size you need using a router. This is because it’s much easier to cut something down to the right size than it is to add wood back on. However, if you’re confident in your measuring skills, then you can cut your pieces to size right away using a circular saw.
2. Router
A router is the second most important tool for cabinet making. It allows you to trim down your pieces so that they’re the perfect size.
The router bit you’ll want to use is a flush-cutting bit. This bit is designed to cut off any excess wood that’s sticking out from your cabinet’s sides. It’s perfect for shaping your cabinets once you’ve cut out the initial pieces using your circular saw.
There’s a bit of a knack to using a router, but once you’ve got the hang of it you’ll be able to use it to add all sorts of fancy edges to your cabinets. There’s plenty of time for that later though. For now, you’ll just want to learn how to get the most out of your flush-cutting bit.
3. Jigsaw
A jigsaw is pretty much the same as a circular saw, except that it’s designed for cutting shapes out of wood rather than just straight lines.
The most important thing about a jigsaw is that you use the right kind of blade. The blade you’ll want to use for cutting plywood is a high TPI blade. The TPI stands for “teeth per inch,” and it determines how fast your blade will cut through wood. A high TPI blade is perfect for plywood because it cuts slowly, giving a very clean cut that doesn’t splinter.
4. Random Orbital Sander
A random orbital sander is used to smooth off the rough edges of your plywood after you’ve cut it. You can also use it to remove any pencil lines that you’ve drawn on your plywood as a guide for your cuts.
They’re called random orbital sanders because they don’t move in a pattern. They move in a random motion that doesn’t leave any sanding marks on the wood. This is important because it means that you can start with a rough grit sandpaper and work your way up to a fine grit sandpaper, without leaving any marks from the coarser grits.
5. Brad Nailer
A brad nailer is used to hold your cabinets together while the glue dries. You can use clamps instead, but holding everything together while you clamp it can be a bit fiddly.
Using a brad nailer is pretty much the same as using a stapler. It fires out slim, headless nails called brads. They’re perfect for holding cabinets together because they’re slim enough to be hidden when they’re inside your cabinet, and headless so that they don’t get in the way of your screws.
6. Cordless Drill
A cordless drill is used to drill pilot holes in your cabinets so that you can screw everything together. It’s really important to drill pilot holes, because if you don’t, then you’ll just end up splitting your wood.
You’ll want to use a countersink bit when you’re drilling pilot holes so that the heads of your screws are flush with your cabinet’s surface.
7. Set Of Screwdrivers
You’ll need a set of screwdrivers to screw everything together. If you’re using a brad nailer, then you’ll only need one size of screwdriver for the screws that hold your cabinets together. However, if you’re using clamps, then you’ll need to have a few different sizes of screwdriver to screw in your corner brackets, which hold your cabinets together at the corners.