What Is a Miter Cut?
There’s nothing quite like the feeling of slicing through a thick piece of wood with precision and ease. It’s a power trip like no other. But before you can master the art of woodworking, you need to understand the basics. One of the most important skills you’ll need is the ability to make a miter cut. These angled cuts may seem like a walk in the park, but in reality, they require a delicate touch and specific tools. Fear not, my friends! In this post, we’ll take a deep dive into the world of miter cuts. By the end, you’ll be slicing through wood like a hot knife through butter.
The Definition of a Miter Cut
A miter cut is a precise and angled cut that is made on a piece of material such as wood or metal. The cut is made at a specific angle, typically 45 degrees, to create a clean and seamless joint when two pieces are joined together. It is commonly used in woodworking, cabinetry, and construction to create tight and accurate joints.
Miter cuts are versatile and can be used in various applications, from creating picture frames to building furniture. They ensure that the pieces being joined together fit together perfectly, without any unsightly gaps or misalignments.
Making a perfect miter cut requires a skilled hand and a sharp tool. It is important to measure and mark the exact angle before making the cut to avoid any mistakes. Miter saws and hand saws are often used to create these cuts, but other tools such as compound sliding saws and table saws can also be used depending on the project at hand.
Miter cuts can be intimidating for beginners, but with some practice and attention to detail, anyone can learn to create clean and precise cuts that are essential in many woodworking and building projects.
The Different Types of Miter Cuts
There’s not just one way to make a miter cut. In fact, there are several different types of miter cuts that you can choose from depending on the project you’re working on.
First, there’s the basic miter cut, which is simply a cut made at a 45-degree angle across the face of a board. This is the most common type of miter cut and is often used for things like picture frames, molding, and trim work.
Another type of miter cut is the compound miter cut, which is a bit more complex. This type of cut involves cutting the board at an angle along both its length and its face. Compound miter cuts are often used for things like crown molding or baseboards.
Then there’s the beveled miter cut, which is a combination of a miter cut and a bevel cut. This type of cut involves cutting the board at an angle along both its length and its thickness, creating a diagonal edge. Beveled miter cuts are often used for things like window frames or roof edges.
And finally, there’s the dado miter cut, which is a bit more specialized. This type of cut involves creating a groove or channel in the board and then cutting a miter angle across the face of the board that intersects with the groove. Dado miter cuts are often used for things like creating joints in cabinetry or furniture.
Each type of miter cut has its own unique purpose and requires a different level of skill and precision to execute correctly. Make sure you choose the right type of cut for your project and take the time to practice and perfect your technique before getting started.
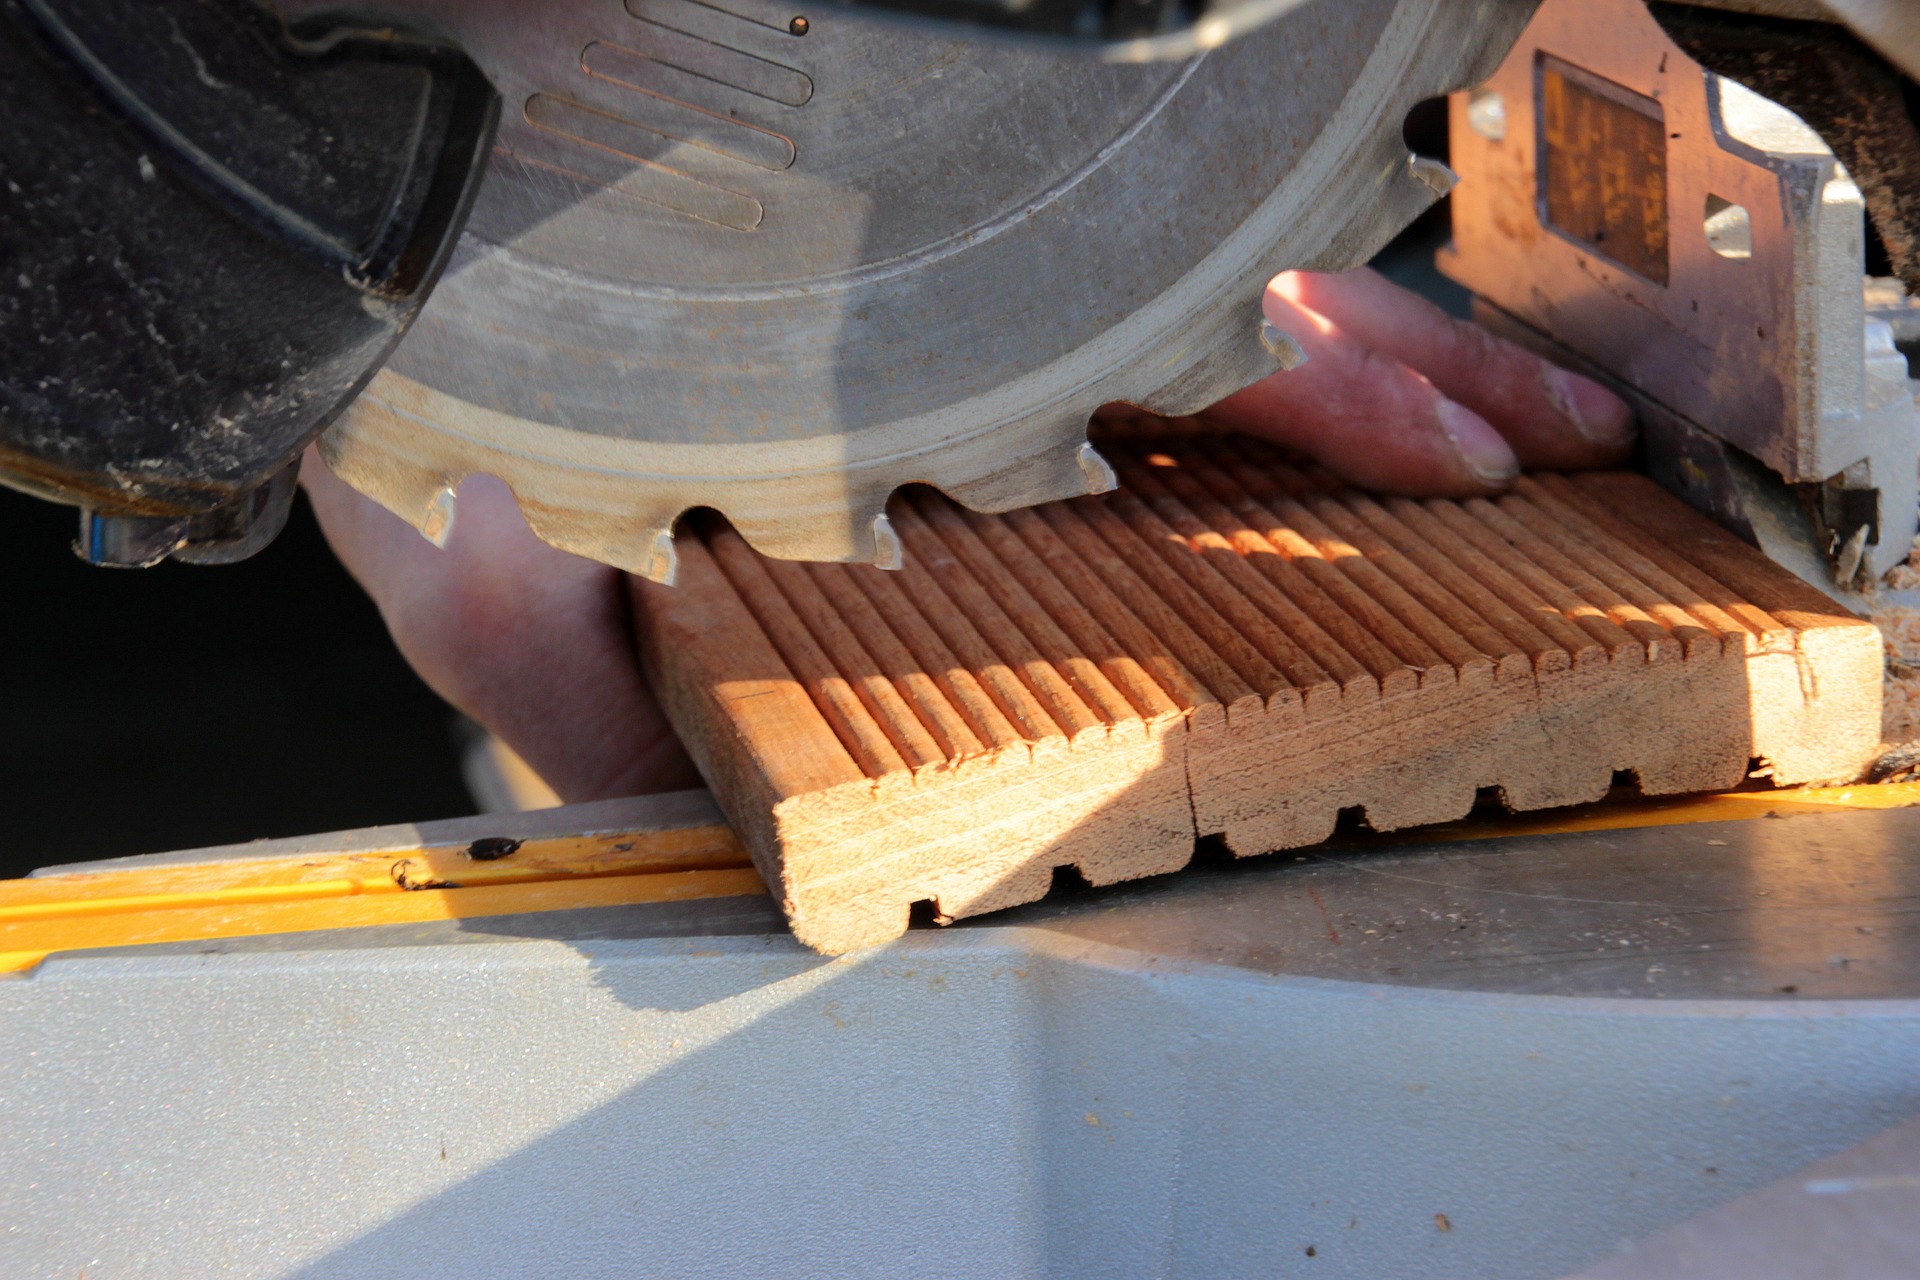
The Tools Required for Making a Miter Cut
The right tools can make or break your miter cut masterpiece. Here’s what you’ll need. A good old hand saw is always an essential tool to have on hand. It’s perfect for those smaller projects or if you’re working with thinner pieces of wood. However, if you’re dealing with anything thicker than your standard 2×4, a power saw is the way to go. A miter saw, table saw or circular saw will all do the trick.
With these types of saws, you can adjust the angle of the blade to cut a miter. A miter saw is probably the most common type, as it’s specifically designed for these types of cuts. It allows you to set the angle of the cut and also make beveled cuts, which come in handy when working with more complex projects.
In addition, you’ll want to have a good measuring tool on hand, such as a tape measure or speed square. This is necessary to ensure you are cutting at the correct angle or length. A protractor might also come in handy, especially if you’re working with a more complex project with multiple angles.
Finally, make sure you have a clamp or two on hand to hold your piece of wood securely in place while you work. The last thing you want is your workpiece slipping while you’re making your cut. A stable work surface, a pair of goggles, and ear protection are also highly recommended.
With the right tools and a steady hand, you can make beautiful, precise miter cuts like a pro. So get to it, and let those creative juices flow!
Tips and Tricks for Creating Perfect Miter Cuts
Creating a perfect miter cut can be a challenging task, but with a few tips and tricks up your sleeve, you can achieve flawless results every time. Here are some of my favorite tips for mastering the art of miter cuts:
– Measure twice, cut once: This age-old adage rings especially true when it comes to miter cuts. To ensure accuracy, take the time to measure your angles and dimensions multiple times before making any cuts.
– Use a jig: A jig is a tool that helps guide your saw and keep your cuts precise. For miter cuts, a dedicated miter saw jig can be a game changer. It allows you to easily cut angles with precision and accuracy.
– Keep your saw blade sharp: A dull blade can make a mess of your miter cuts, so make sure your saw blade is sharp before starting your project. You’ll get cleaner cuts and reduce the chances of splintering or tear-out.
– Clamping is crucial: When cutting small pieces, it’s easy for them to move around and ruin your cut. Use clamps to secure your workpiece in place and prevent any slipping or shifting during cutting.
– Sand your cuts: Even with the most precise saw and jig, your miter cuts may still need a little love to achieve a perfect finish. Sanding your cuts can remove any imperfections and smooth out any rough edges, resulting in a polished final product.
These tips and tricks can help turn even amateur woodworkers into miter-cutting pros. With practice and attention to detail, you’ll be creating perfect miter cuts in no time!